This AngularJS tutorial will introduce beginners to better understand how directives work through examining several approaches to produce the same sort of behavior. Angular JS is a powerful JavaScript framework developed by Google and allows developers to create dynamic web applications. It lets you extend HTML’s syntax to express your application’s components clearly and succinctly.
The text below is a summary done by the Codementor team and is based on the office hour hosted by AngularJS expert mentor Tero Parviainen, the author of Build Your Own AngularJSand the well-received tutorial on scopes and digest, which inspired a Chinese and Russian translation and much discussion. The summary may vary from the original video and if you see any issues, please let us know!
Introduction
Directives are the distinguishing feature of AngularJS and are also pretty much the core of the framework. If you look at Angular’s history, you’ll know that directives have been originally designed to be a tool that would facilitate collaboration between developers and designers. Developers would write reusable components designers with no coding experience could use. While we know that’s not quite how things turned out to be, the basic idea of directives is still what sets Angular apart from most other frameworks out there.
Furthermore, since the whole web component standardization process started, the idea of building applications through extending HTML and the DOM has been picking up. For example, the Google Polymer project, in particular the web components, is very similar to Angular directives both in conception and implementation.
Nonetheless, while directives are the most important and central aspect of the Angular framework, they also seem to be the most difficult part of Angular for many people. I’m writing the book “Build Your Own AngularJS”, and users almost always ask me to write about directives. I think one of the reasons Angular beginners are confused by is that Angular directives can do a lot of different things. Personally, I also think it’s because the Angular API is not particularly good. If you look at the Angular directives API, it becomes quite apparent they’re not designed APIs. Meaning, the features they have added to directives over time made the API very large and difficult to use, where sometimes features don’t work well together and you have to figure out yourself how to combine them. Then you’d also have features that are almost identical, but also not quite the same.
While this Angular directives tutorial won’t go into the detailed nuances of directives, it will basically introduce you to directives and show several different ways to approach how to add an expandable section to your web page.
The jQuery Approach
As mentioned, we are going to examine directives by seeing how we can use them to add a behavior where you can show/hide an article’s content by clicking on its title. Let’s first look at the following index.html template:
<html>
<body>

	<section>
	<h2>Section Titleh2>
	<article>Bodyarticle>
	section>

	<script src="//ajax.googleapis.com/ajax/libs/jquery/1.9.1/jquery.min.js">script>
	<script src="//ajax.googleapis.com/ajax/libs/angularjs/1.2.19/angular.min.js">script>
	<script src="app.js">script>

body>
html>
As you can see, this is pretty much a blank index.html with an article section. There’s a script each for 2 JavaScript libraries, and another one for a local JavaScript file app.js.
First of all, let us examine how we would add the expanding behavior to
<section>
<h2>Section Titleh2>
<article>Bodyarticle>
section>
with jQuery. To select the section, we would have to add an expandable attribute to the sectiontag like this
<section expandable-section>
<h2>Section Titleh2>
<article>Bodyarticle>
section>
And then grab it with jQuery in the app.js with the following code:
$(function() {

	$('[expandable-section] article').hide()
});
Which would hide your articles by default. If you look at the results in the browser, you’d see this:

Then, take all of the title tags and add a click function to them:
$(function() {

	$('[expandable-section] article').hide();
	$('[expandable-section] h2').click(function() {
		$(this).parent.find('article').toggle();
	});
});
In which when you click on the h2 title, you would be able to find the parent article and toggle its visibility. So, if you take a look at the results in your browser again, you should get this after you click on “Section Title”:
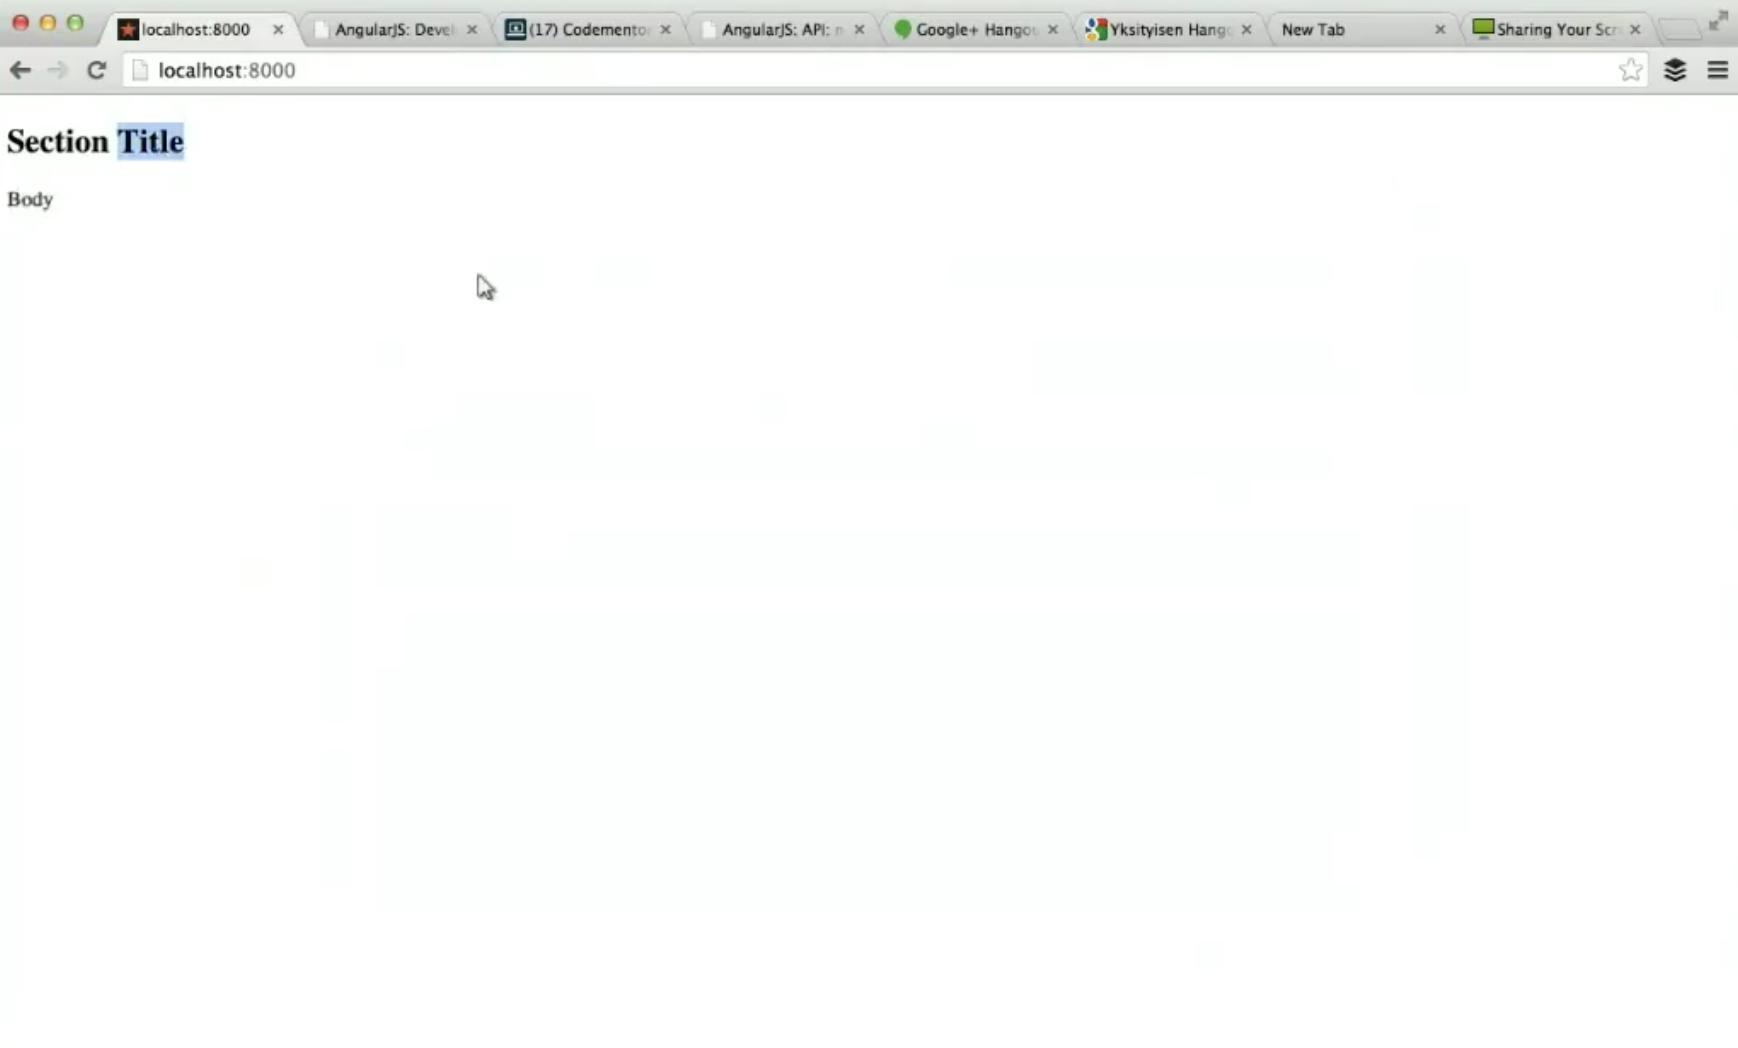
This is a standard jQuery code I’m sure all of us have written at one point. The reason I’m bringing it up is to compare it to how you’d do the same thing with Angular directives and see any similarities and differences.
The Angular Approach
With an Angular directive, you’d naturally need an Angular application, so initialize the angular module call by adding this code to your app.js file (disable the jQuery code from the file by making it a comment instead with /* */):
var app = angular.module('myApp', [])Remember to bootstrap the application to the index.html by adding the ng-app attribute to the body tag:
<body ng-app="myApp">Method 1
At this point, we have an Angular application, so let’s go ahead and make a directive to do the same thing as the jQuery function:
app.directive('expandableSection', function() {
	return function($scope, $element) {
	$element.find('article').hide();
	$element.find('h2', click(function() {
		$element.find('article').toggle();
	  });
	};
});
The code above is more or less from a jQuery’s point of view into directives. The return function($scope, $element) is a so-called directive link function which can take a couple of arguments on its $scope and $element for which the directive is matched, In this example, the $element here would be
and any other instance of the same kind of element on the page.
Although overall this expandable behavior is probably not something you’d need Angular for, you can see that we’ve added a bit of structure with the Angular approach. The directive is a well-defined component that contains the expandable section’s behavior, whereas the jQuery is just a few lines thrown somewhere on the page. So, if you prefer, you can use Angular directives as jQuery replacements in some cases.
However, this code is not taking advantage of what’s really powerful about directives. One aspect of directives is they’re usually parts of a larger Angular application, and thus have other application components such as services, filters, data binding, and so on.
Method 2
One thing we can do to take more advantage of directives is to think less about jQuery selectors and more about components. So, instead of having an expandable-sections attribute, let’s say we have an expandable-section element instead in the index.html.
<html>
<body ng-app="myApp">

	<expandable-section>
	<h2>Section Titleh2>
	<article>Bodyarticle>
	expandable-section>

	<script src="//ajax.googleapis.com/ajax/libs/jquery/1.9.1/jquery.min.js">script>
	<script src="//ajax.googleapis.com/ajax/libs/angularjs/1.2.19/angular.min.js">script>
	<script src="app.js">script>

body>
html>
This will make expandable-section our own DOM extension.
However, if we just do that, the web page won’t work as the directives are not currently matched with the element. So, instead of returning the directive function, we’ll return the object in the directive, and this will include one attribute of the function called link.
var app = angular.module('myApp', []);

app.directive('expandableSection', function() {
	return {

	link: function($scope, $element) {
		$element.find('article').hide();
		$element.find('h2', click(function() {
			$element.find('article').toggle();
	  	});
	  }
	};
});
Now that we have the link object, we can also define how the directive can be matched on the page with a restrict key. The default value for that key is A, which is short for attribute and thus would match the directive to the expandable section’s attribute. Here we are going to use the key E, which means elements.
var app = angular.module('myApp', []);

app.directive('expandableSection', function() {
	return {
	restrict: 'E',
	link: function($scope, $element) {
		$element.find('article').hide();
		$element.find('h2', click(function() {
			$element.find('article').toggle();
	  	});
	  }
	};
});
After you add the restrict key, you’ll find the web page fixed and you can toggle the expandable section again.
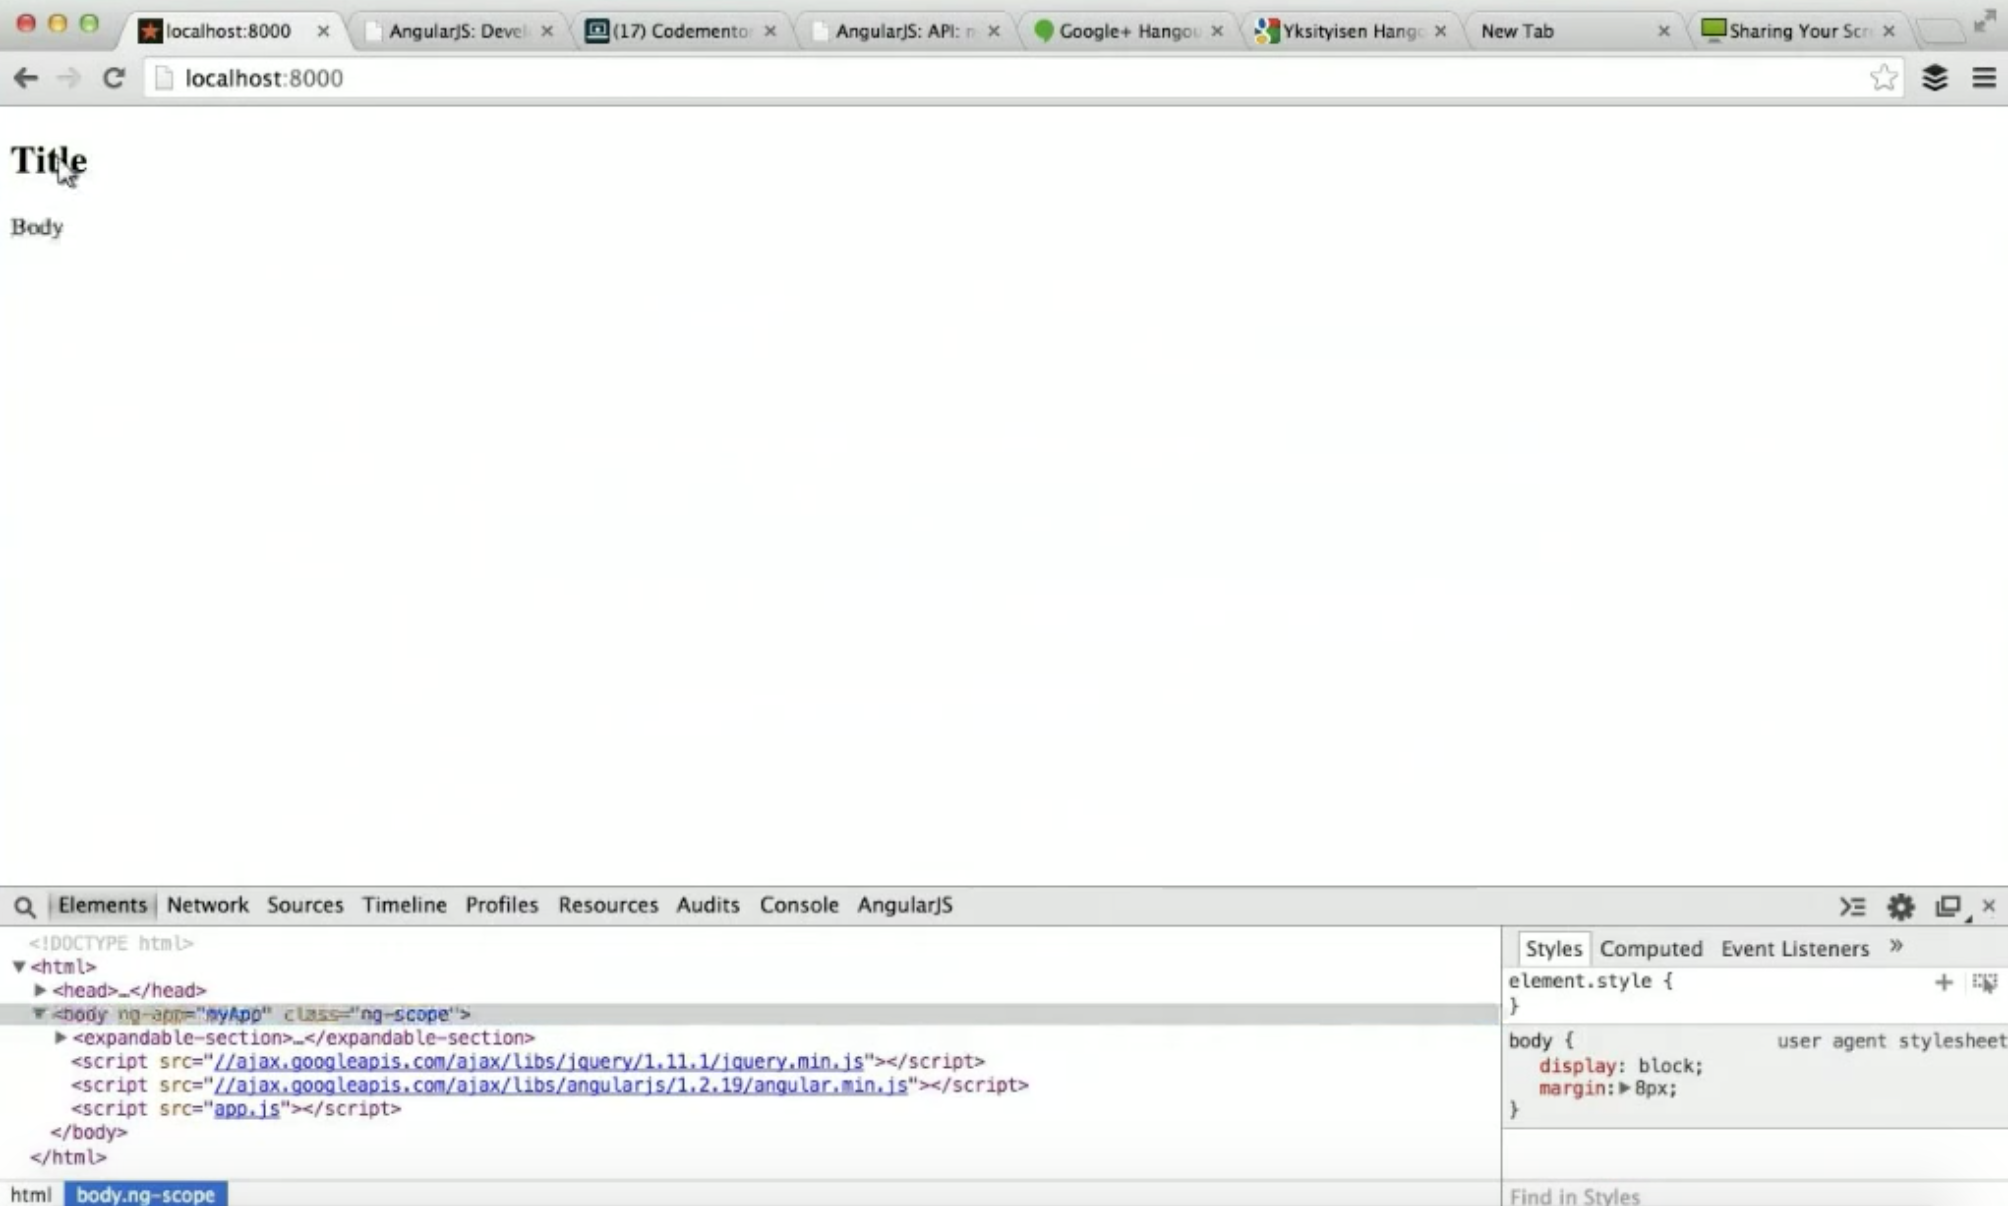
However, looking at the page’s source code, expandable-section is not standard HTML so you might not want to keep it on the page source. Although directives allow us to have custom elements, we can still have directives replace those custom elements with standard HTML.
One of the ways to do that is to have replacement templates for the content. In this case, we’ll use the section tag with the h2 title, and the article tag with the body. Then, we’ll add the replace key to the object and make the value “true”
var app = angular.module('myApp', []);

app.directive('expandableSection', function() {
	return {
	restrict: 'E',
	template: '
Title
‘
,
	replace: true,
	link: function($scope, $element) {
		$element.find('article').hide();
		$element.find('h2', click(function() {
			$element.find('article').toggle();
	  	});
	  }
	};
});
Now if you look at the page source of the web page, you’ll notice the custom element and content have been replaced to match standard HTML.
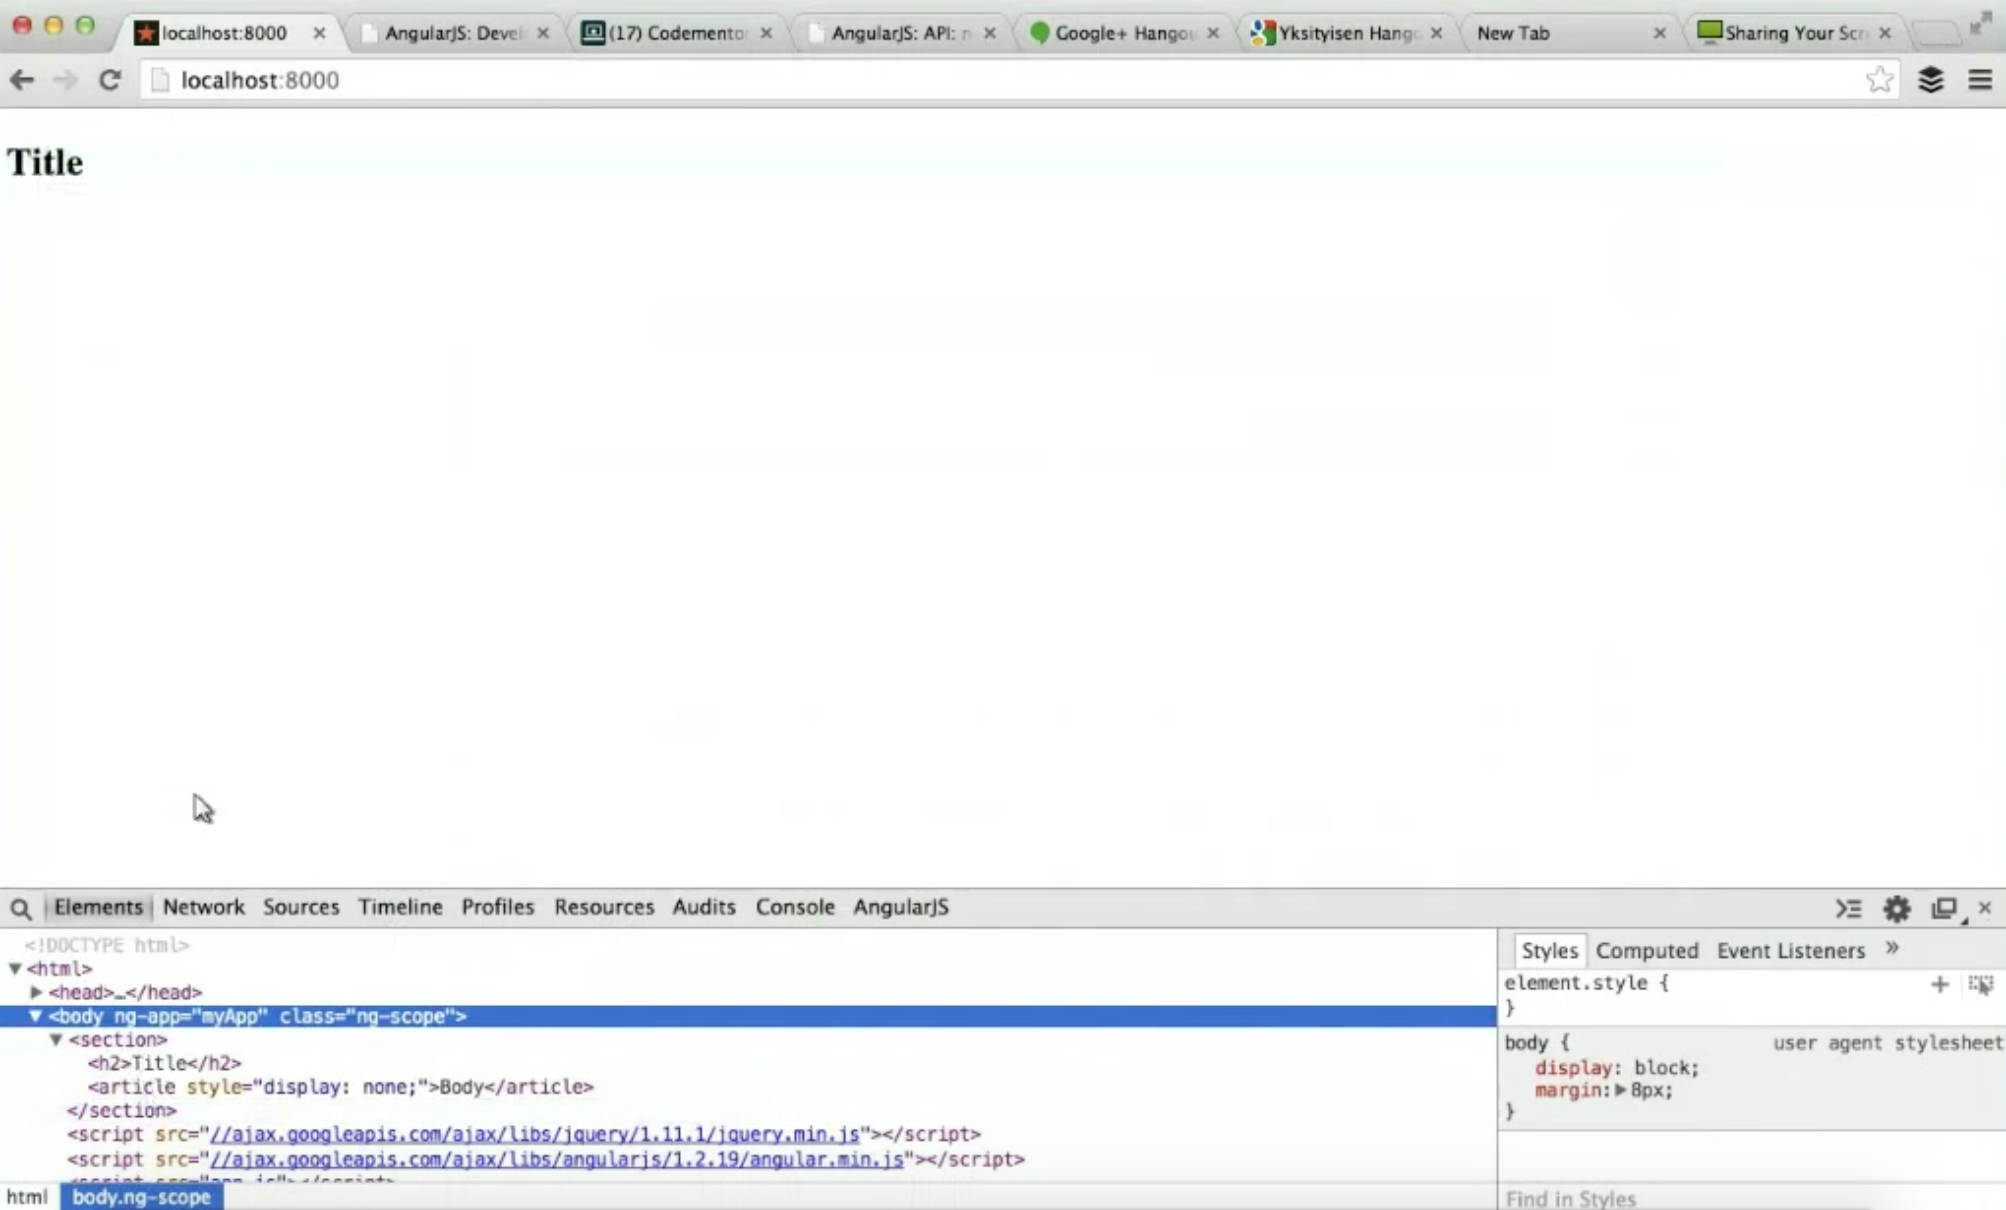
This way, browsers won’t have to deal with anything weird. However, the code above also broke this part of the index.html
<h2>Section Titleh2>
<article>Bodyarticle>
Where it is no longer showing correctly. Both the h2 and the article are currently hardcoded into the directive, but that’s not what you’d usually want to do, as we’d want to be able to use the directive with different sections and content. So, to fix this, we can pass the content to the directive by adding an attribute to the expandable-section element. We’ll also add another section to better illustrate the changes.
<html>
<body ng-app="myApp">
	<expandable-section section-title="Section title"
						section-body="Body">
	expandable-section>
	<expandable-section section-title="Another title"
						section-body="Another Body">
	expandable-section>
	<script src="//ajax.googleapis.com/ajax/libs/jquery/1.9.1/jquery.min.js">script>
	<script src="//ajax.googleapis.com/ajax/libs/angularjs/1.2.19/angular.min.js">script>
	<script src="app.js">script>

body>
html>
Then, we will tell our directive to also look for the attributes in the link function.
var app = angular.module('myApp', []);

app.directive('expandableSection', function() {
	return {
	restrict: 'E',
	template: '
Title
‘
,
	replace: true,
	link: function($scope, $element, attrs) { //once we add the attributes to the directive, we can just refer to them as normal DOM attributes through the attrs object.
		console.log(attrs); //you can also log the attributes to see what's in them
		$element.find('article').hide();
		$element.find('h2', click(function() {
			$element.find('article').toggle();
	  	});
	  }
	};
});
If you look at the web page through your browser’s web console, you’ll notice there will be some attributes given as keys

We will stick the keys sectionTitle and sectionBody to the template through data binding.
var app = angular.module('myApp', []);

app.directive('expandableSection', function() {
	return {
	restrict: 'E',
	template: '
{{title}}
‘
, //the {{title}} and {{body}} refers to attributes on the directive's $scope
	replace: true,
	link: function($scope, $element, attrs) {
	$scope.title = attrs.sectionTitle; //stick the keys in the link function
	$scope.body = attrs.sectionBody;
		console.log(attrs);
		$element.find('article').hide();
		$element.find('h2', click(function() {
			$element.find('article').toggle();
	  	});
	  }
	};
});
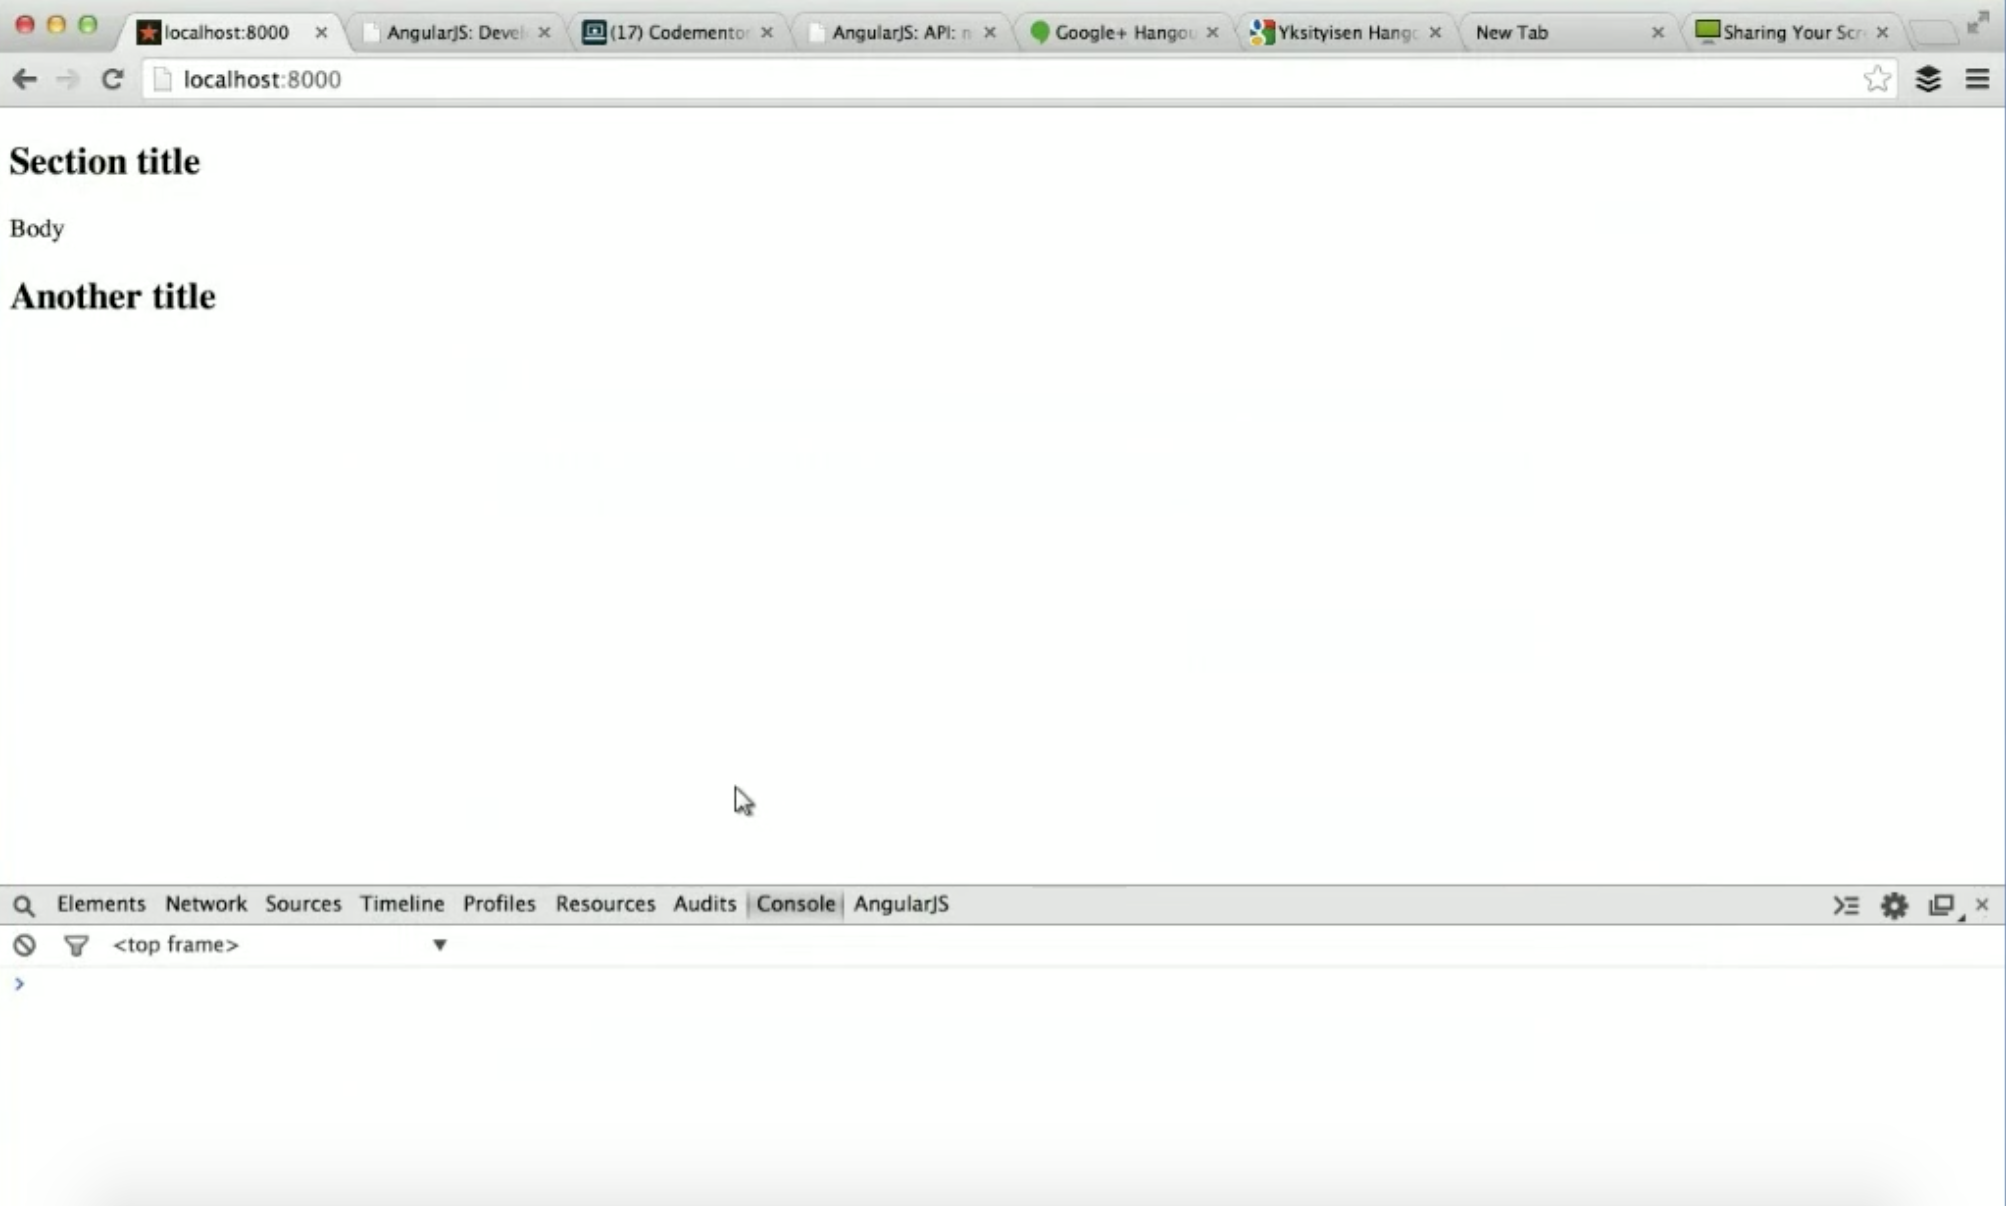
If you look at your webpage now, you should end up seeing the title and body through the data binding. However, both your sections are showing the same data on them as well.
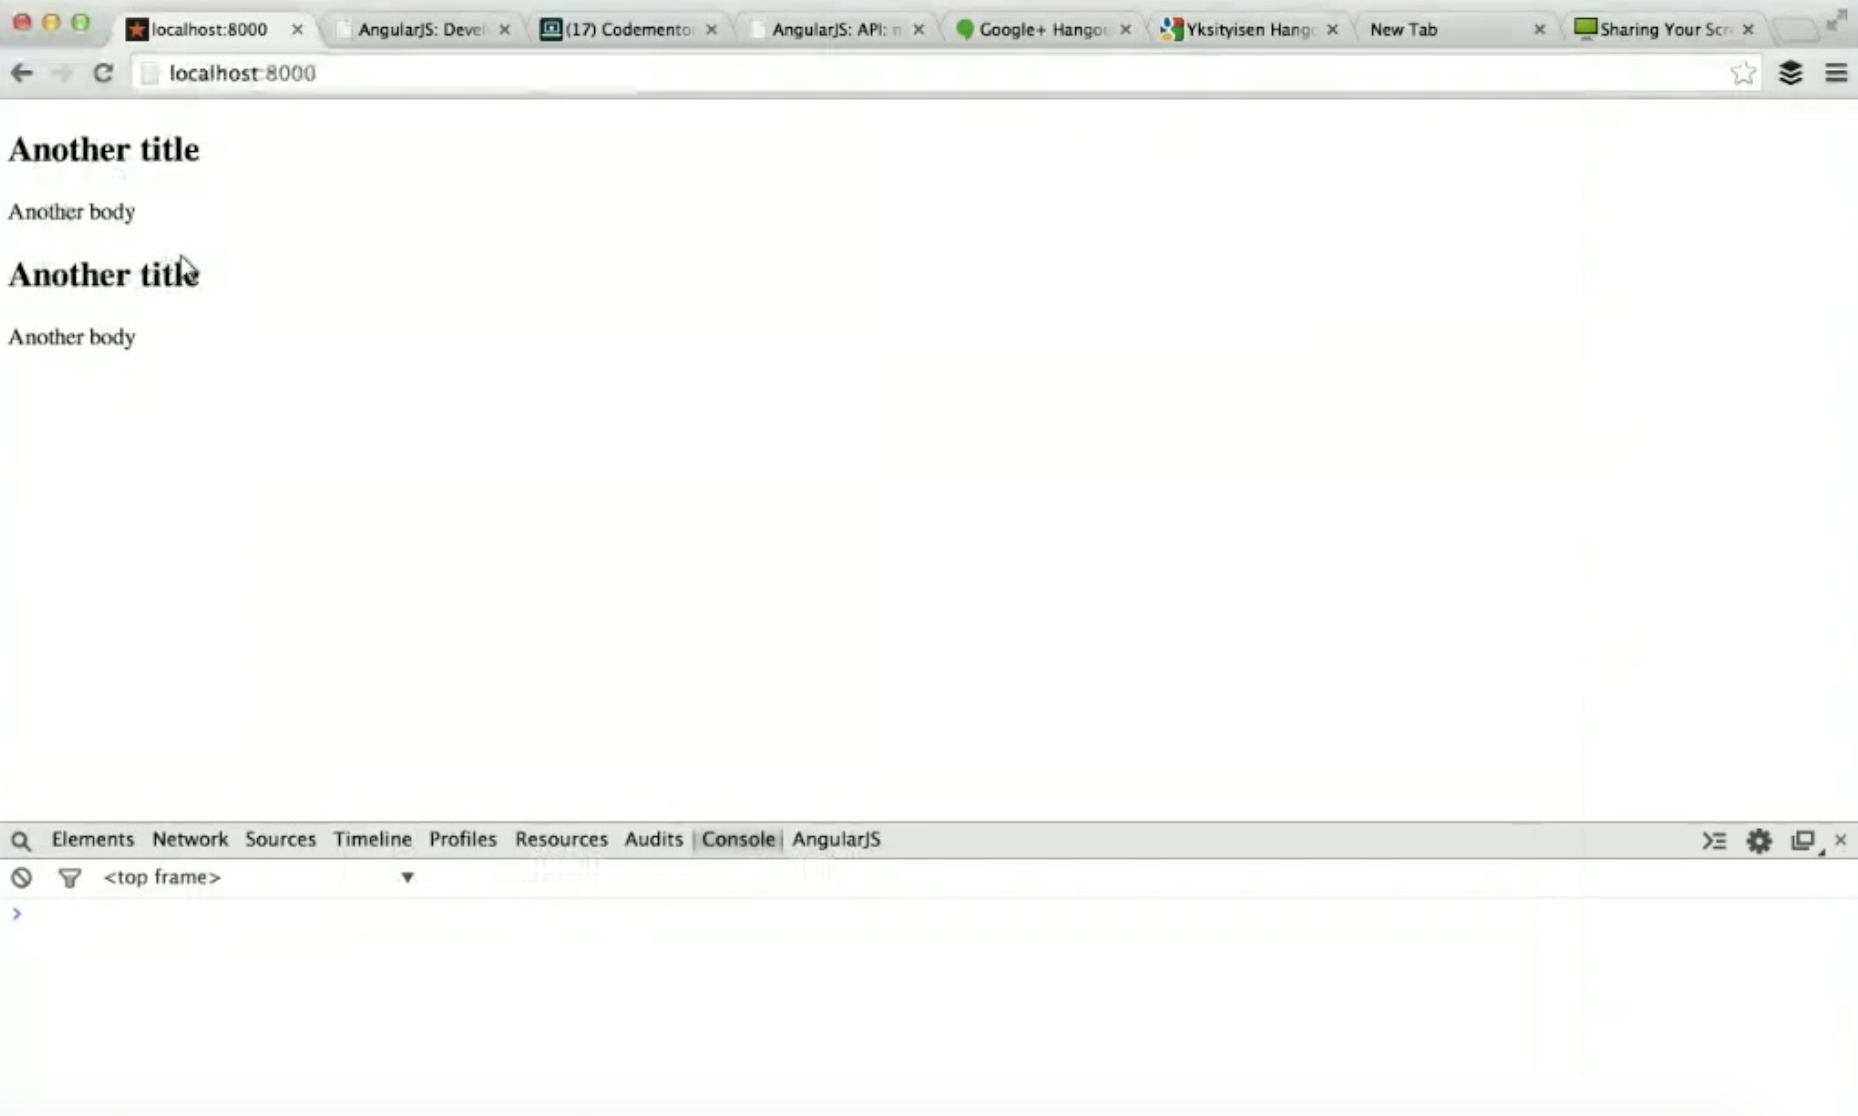
You’re getting this result because of an issue with your $scope object. By default, an Angular directive will pass in its scope from its parent, so what happened here is both directives in the code have the same exact object as the scope object, since they don’t have their own scopes. So in the example, despite setting the data for the first directive, the second one overrode it and they end up showing the same thing.
To fix this, we would specify the directives to actually meet their own scope by adding the line scope: true to our code, which means the scope should be inherited. This way, the two directives will not affect each other’s data as the scope will be different each time it’s applied.
var app = angular.module('myApp', []);

app.directive('expandableSection', function() {
	return {
	restrict: 'E',
	template: '
{{title}}
‘
,
	replace: true,
	scope: true //scope: false means the scope is not inherited
	link: function($scope, $element, attrs) {
	$scope.title = attrs.sectionTitle; //stick the keys in the link function
	$scope.body = attrs.sectionBody;
		console.log(attrs);
		$element.find('article').hide();
		$element.find('h2', click(function() {
			$element.find('article').toggle();
	  	});
	  }
	};
});
So, if you check the result, you should see the webpage has been fixed.
Method 3
One thing you may have noticed from the code from method 2, is this part
$scope.title = attrs.sectionTitle;
$scope.body = attrs.sectionBody;
Probably is not so nice because you’d have to repeat the title and body and also have to move it one place to another. There is a more straightforward way to say that certain attributes from the directive can be put on the scope directly.
In this method, we’ll still be using the same scope key, but instead of just having scope: true, we’ll actually have an object and make it an isolate scope. An isolate scope won’t just inherit its parent, but it will also have the same attributes you specified through configuration.
Here, we’ll specify that there should be a scope attribute called “title”, which will reference the attribute sectionTitle from the element, and the “body” will reference the attribute sectionBody.
var app = angular.module('myApp', []);

app.directive('expandableSection', function() {
	return {
	restrict: 'E',
	template: '
{{title}}
‘
,
	replace: true,
	scope: {
		title: '@sectionTitle', //the @ means to take the attribute's value directly and don't do anything special about it
		body: '@sectionBody',
	},
	link: function($scope, $element, attrs) {
		console.log(attrs);
		$element.find('article').hide();
		$element.find('h2', click(function() {
			$element.find('article').toggle();
	  	});
	  }
	};
});
With this, we can take an attribute from an element, put it on scope, and rename it from sectionTitle to whatever it was supposed to be. Basically, this will allow us to access the attribute in the directive’s template or from the $scope.
Method 4
What if you have dynamic data around your articles? In that case, maybe you’ll have a controller in your application and your index.html template’s body tag looks like this:
<body ng-app="myApp" ng-controller="MyController as myCtrl">We can define myController in the app.js, which will basically define some data that could have come from a server, for example.
app.controller('MyController', function (){

	this.myTitle = "Some title";
	this.myBody = "Some body";
});
After defining the controller, you’d want to pass the changes to the directives
<html>
<body ng-app="myApp" ng-controller="MyController as myCtrl">
	<expandable-section section-title="myCtrl.myTitle"
						section-body="myCtrl.myBody">
	expandable-section>
	<expandable-section section-title="Another title"
						section-body="Another Body">
	expandable-section>
	<script src="//ajax.googleapis.com/ajax/libs/jquery/1.9.1/jquery.min.js">script>
	<script src="//ajax.googleapis.com/ajax/libs/angularjs/1.2.19/angular.min.js">script>
	<script src="app.js">script>

body>
html>
However, if you just do this, you’ll see on your browser that your code doesn’t quite work and will just use those strings instead of getting the dynamic data.
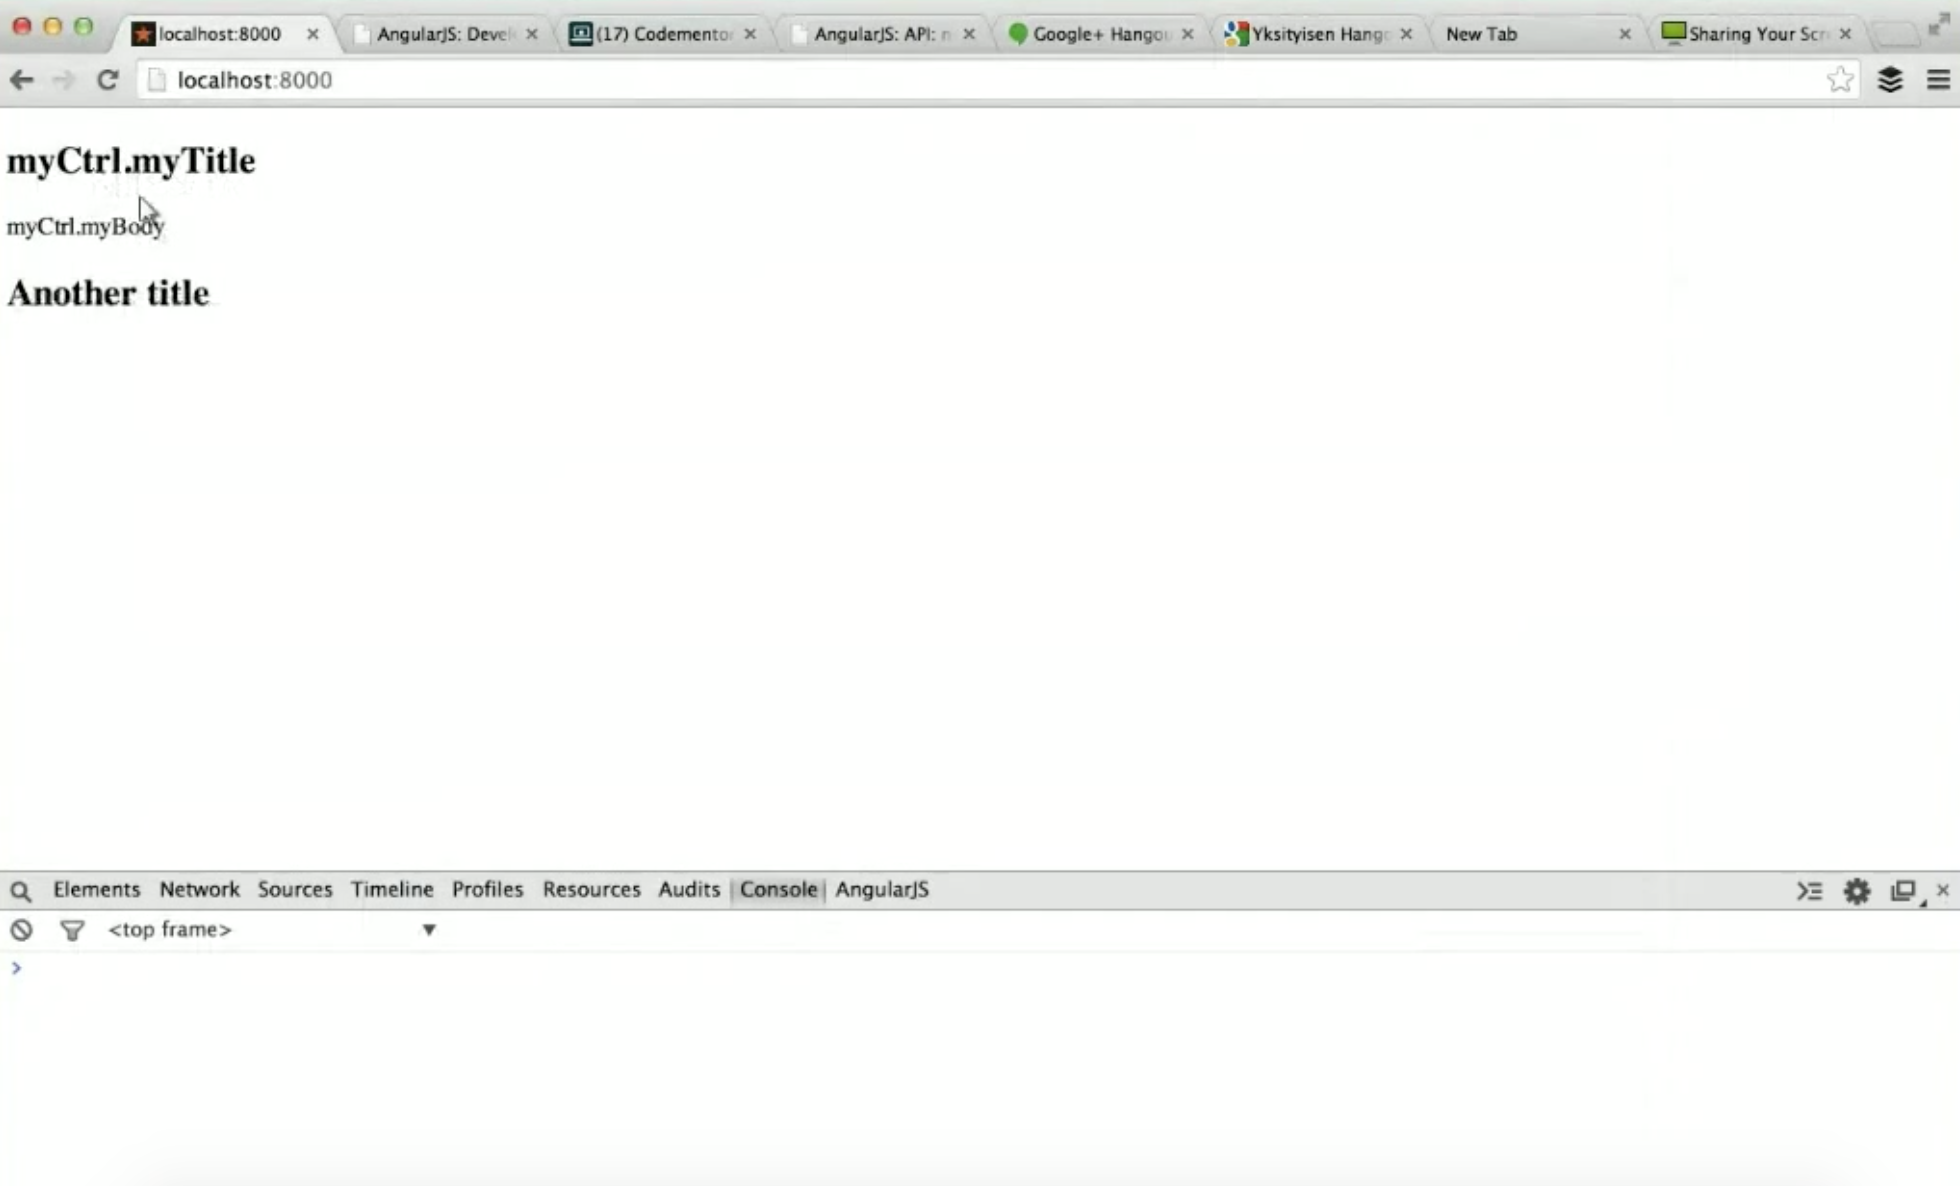
The reason is that the syntax used in the directives only take the attribute’s values directly. There are two ways to fix this problem.
1. You can use the data binding syntax {{}} in the index.html template.
<expandable-section section-title="{{myCtrl.myTitle}}"
					section-body="{{myCtrl.myBody}}">
expandable-section>
This would work because the dynamic data will be handled externally to the directive by the normal data-binding mechanism.
2. You can also change the configuration object
	scope: {
		title: '@sectionTitle',
		body: '@sectionBody'
	},
to
	scope: {
		title: '=sectionTitle',
		body: '=sectionBody'
	},
Where the = means to not just take the attribute from the HTML, but also evaluate it as an expression in the scope. This way, it would actually evaluate myCtrl. and find myController, in which it will find the attribute from there.
Make sure to also change the second directive to an Angular literal string so it can be evaluated as an expression.
<expandable-section section-title="'Another title'"
					section-body="'Another Body'">
expandable-section>
Conclusion
The main point of this Angular directive tutorial is to start from something very simple and use all sorts of configurations for doing different kinds of things in order to get a better idea of how directives work. From the activities above, you can see that you can get the same kind of behavior in many different ways. What method you should use more or less boils down to taste and what you like best.
One reason some people get very anxious about directives seems to be that they know there are features they’re not using, such as $compile or transclude or whatever. Usually an advice would be to consider whether your application is doing what it’s supposed to do, and whether you’re happy with it. Otherwise, you probably don’t need to use those features. They’re there when you need them, but customers don’t pay you to use more framework features. They pay programmers to deliver them software, so we don’t get any points from using all the features Angular has to offer. Thus, it is perfectly okay to find the subset of features that does what you need to do, and to not worry about the rest. You can pick those features up later when you need them.